|
|
|
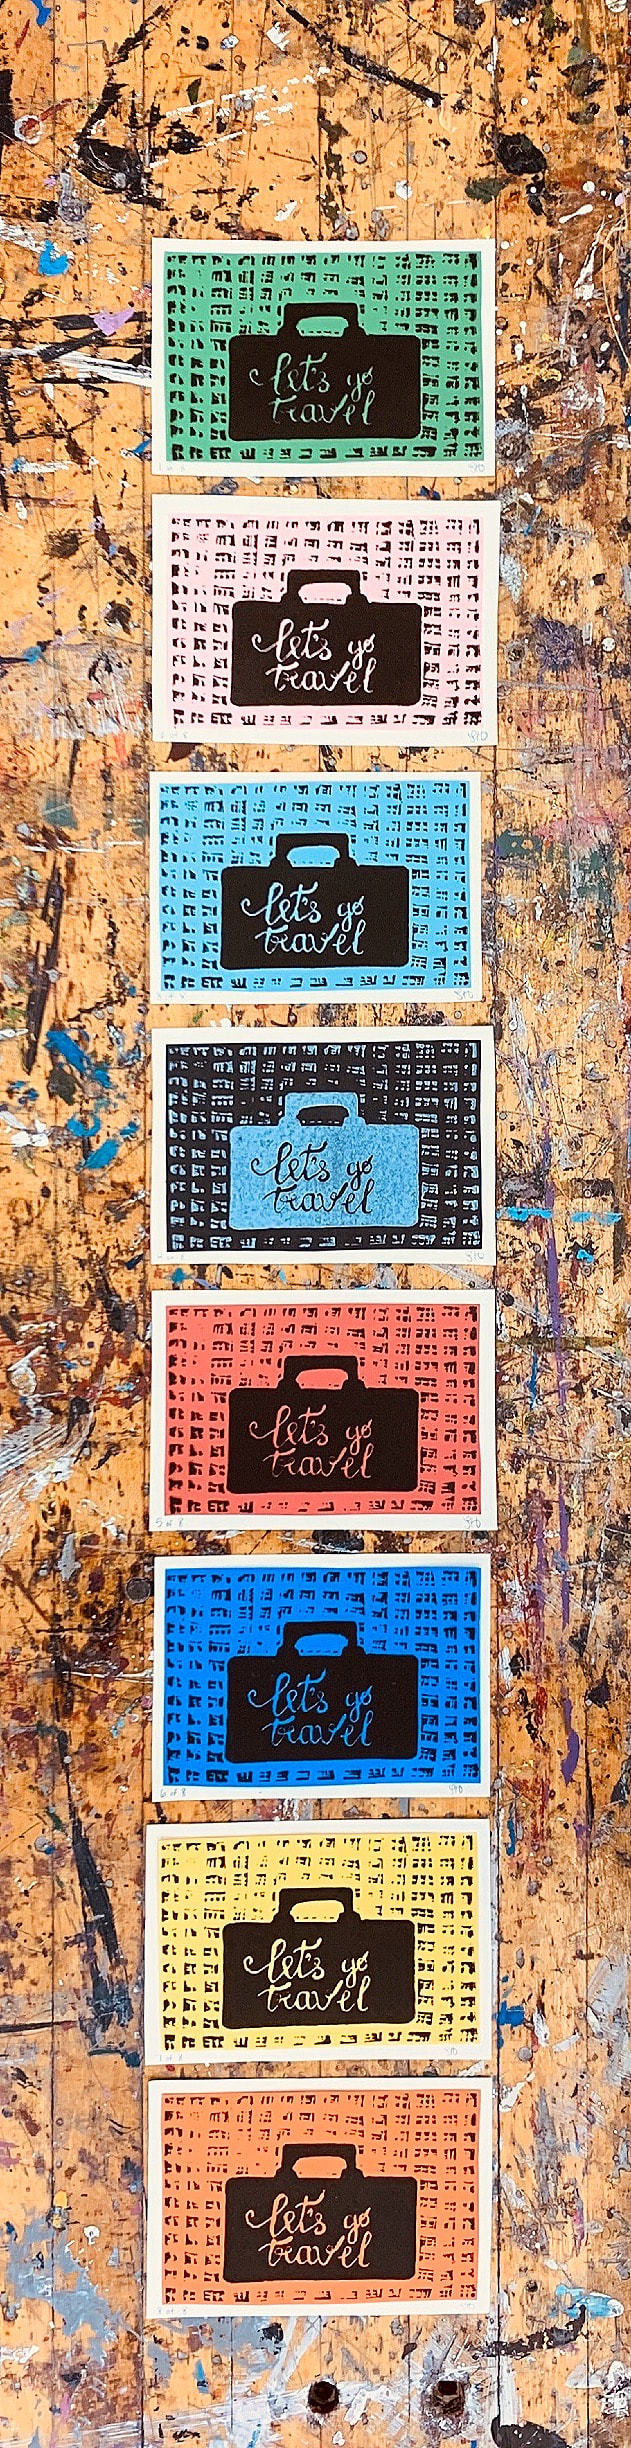
I began my process by selecting an image that represented me. I’m an “army brat” so we were always moving and traveling every three years before my dad retired from the army. I chose an image with text because I thought it would be more challenging than a simple design. I started carving the edges of the case then started on the words “let’s go travel”. My art teacher, Ms.Tantilla, informed me that if I drew the text with a pencil first on a piece of paper, I could stamp the image on my matrix and it would transfer. I did exactly that, then began carving it away. My final step of carving was to make a creative background. I liked the “speckled” look from the image I originally chose and attempted to recreate it. I started with large vertical and horizontal stripes then repeated that with smaller stripes.
The next step of printmaking was stamping which I found difficult but seemed to have an easier time doing than my peers. I believe my design helped make my stamping go smoother because there wasn’t a load of places that needed ink. I originally pressed eight copies on white paper and was going to choose the best six. I wanted to be more creative with it and chose to reprint my image on colored paper. I love the way my set turned out because of this decision. Cutting the image from the paper wasn’t too hard besides the fact that I couldn’t touch the image or it would smudge. The most difficult part for me was taping the image onto the white, background piece of paper. As I previously stated, the image would smudge if I touched it even the slightest. To avoid this problem I placed the tape on the white paper and carefully placed the image on top. Then I used a scissors or pencil to carefully press the image down between the white spaces in my print. Printmaking was a roller coaster of an experience; there were many highs and lows. I thoroughly enjoyed carving from the matrix and found it satisfying. I was also fascinated by rolling the brayer over the matrix. Some low points in my experience were stamping the image on paper and cutting both the image and a background border. |
